Support Articles
Raspbery Pi Installation
Get set up in minutes with our custom Raspberry Pi image.
Note: If you would like to install Channels DVR Server directly on your existing Pi, you can do so by following the standard Linux instructions.
Requirements
Our custom image was designed and optimized for the Raspberry Pi 4 to be flashed to a USB 3.0 hard drive. SD cards are not recommended.
2 GB of RAM is perfectly fine for a Pi that is dedicated for Channels DVR Server.
Protip: For more information, see this thread on our forum.
Installation Video
Download The Image
Download our custom Raspberry Pi image to your computer to flash it to your USB 3.0 hard drive.
Prepare your Raspberry Pi for USB Boot
Your Raspbery Pi 4 will likely ship with factory EEPROM which does not have USB boot enabled. You will need to update its EEPROM firmware using an SD card.
If your Pi is already prepared for USB boot, you can skip to the next section.
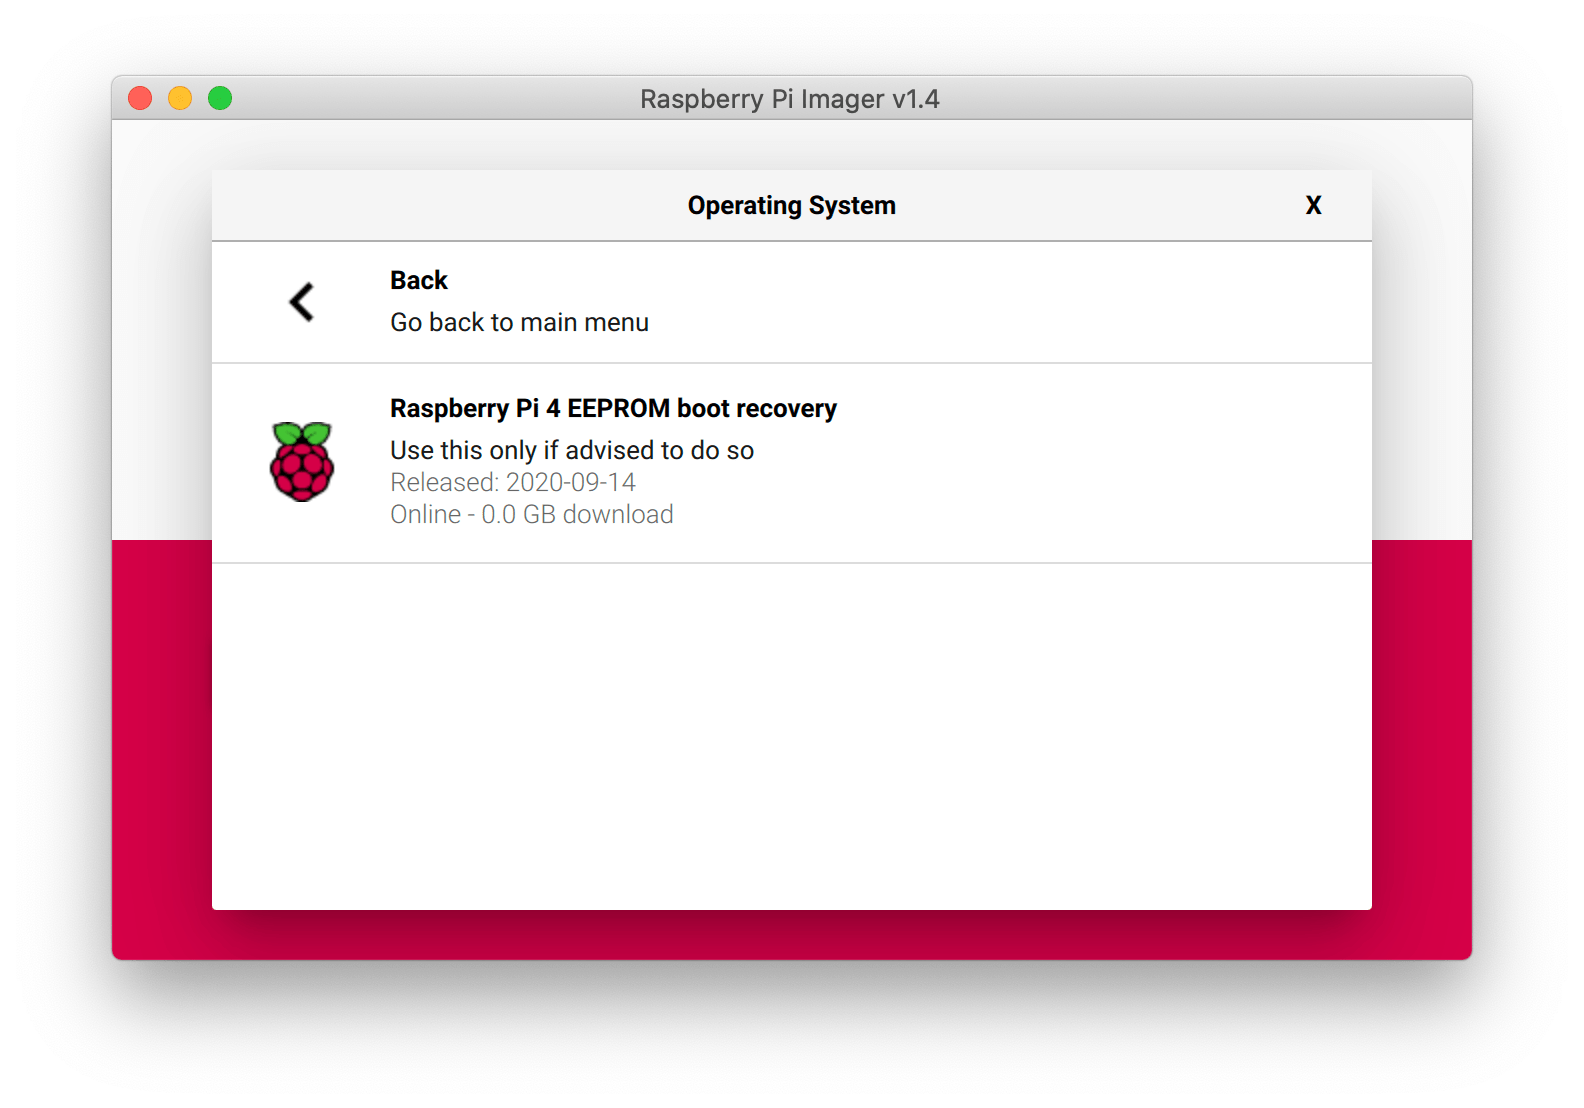
- Using the Raspberry Pi Imager, click Choose OS > Misc utility images > Bootloader > SD Card Boot, then select your SD card and click Write.
- Boot your Pi using the SD card and wait until the green light on the front starts blinking rapidly.
- Unplug the power and remove the SD card.
Flash the Image to your USB 3.0 Hard Drive
Once your Pi can boot directly from USB, simply prepare your USB drive with the Channels DVR Server software and plug it in.
- Using the Raspberry Pi Imager, click Choose OS > Use custom > ChannelsDVRServer_PI4.img.xz.
- Click Choose SD and pick your USB3 drive, then click Write.
- Attach the drive to your Pi using one of the BLUE USB 3.0 ports.
- Plug your power supply into the Pi to boot up your new DVR.
- Wait for the light on the front of the Pi to turn solid green.
Your DVR is up and running. Visit http://dvr-server to finish setup.
Tips and Tricks
Our Raspberry Pi custom image doesn’t just get you going faster, it creates a whole operating system dedicated to Channels DVR Server.
Channels DVR Server has some extra features to help you manage your Pi.
Access Recordings
After shutting down your Pi, you can remove and connect your flashed USB 3.0 hard drive to any other computer to access files from it.
Do this to move files to and from it freely. Then just reconnect it back to your Pi and power it back up.
Share Files over the Network
Turn on file sharing so other computers can access recordings and other files.

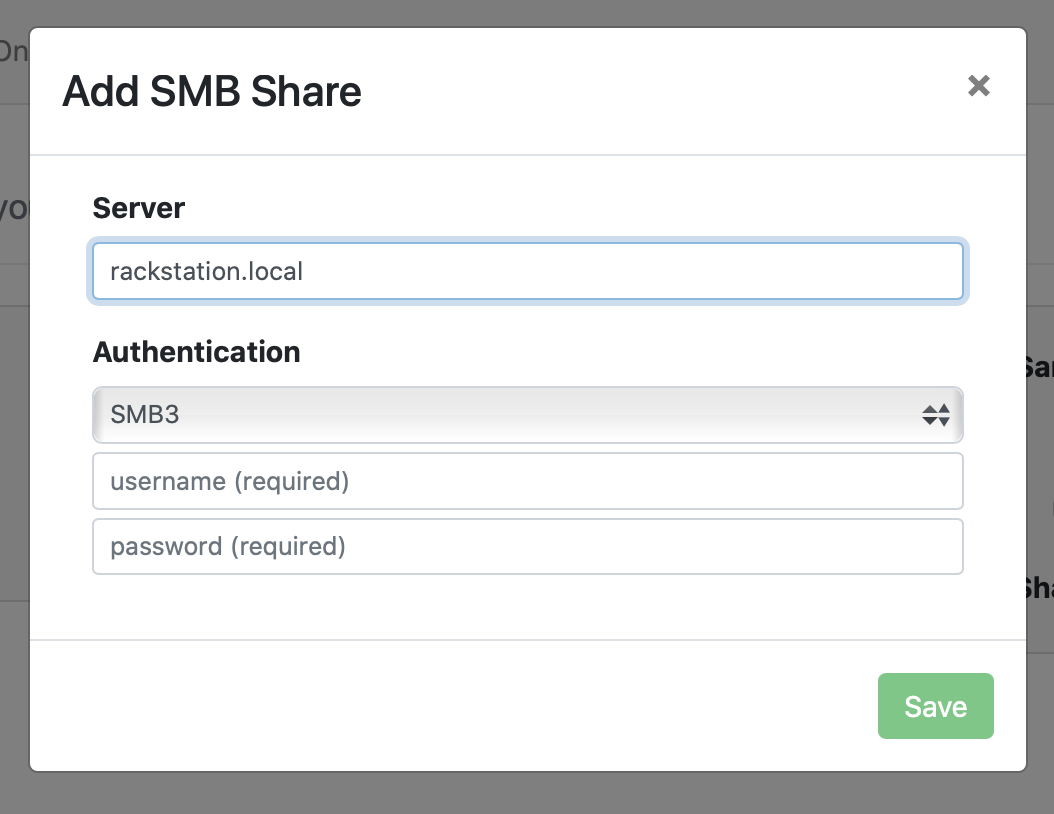
Mount other Network Shares
Mount other network shares directly into your Channels DVR Server.
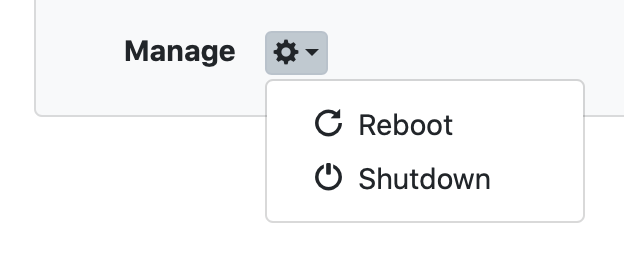
Manage your Pi
Tell the Pi to reboot or shut down.
Troubleshooting
USB enclosures
Some USB enclosures (particularly ones by Sabrent) are known to have compatibility issues with the Raspberry Pi. Refer to this article for a list of known working and problematic adapters.
LEDs
The green LED on the front of the Raspberry Pi will go through the following sequence after power-on:
- RPI EEPROM booting: solid green (~5 seconds)
- U-Boot booting: solid black (~5 seconds)
- Linux Kernel booting: solid green (~5 seconds)
- OS booting: black flashing green (~10 seconds)
- Waiting for NTP time sync: green flashing black
- DVR active: solid green
The DVR web interface on http://dvr-server is accessible as soon as the OS boots (step 4), approximately 25-30s after the Pi is powered on.
HDMI display
A micro-HDMI adapter can be used to plug the Pi into a TV or monitor. This may be necessary for troubleshooting in some cases, to see where the Pi is stuck and if any error messages from the firmware/kernel/OS are displayed on screen.
Terminal access is also available when a display is attached, by attaching a keyboard and hitting ENTER.
SSH access
SSH root access to the OS is possible on port 22222. To enable this feature, simply tick the SSH checkbox on the DVR web UI and enter your public key.
SSH access will be enabled for the SSH key provided, via ssh -p 22222 root@dvr-server
Advanced
WiFi
We strongly encourage wired operation for the DVR server, and recommend the Pi be plugged in directly to your home router.
If you absolutely need to connect the DVR to your network over WiFi, enable SSH (see above) and use nmcli to setup the connection.
Reusing existing DVR USB drive
If you already have a DVR installation on a PC/Mac using a dedicated USB drive, there are two ways to migrate your DVR to a Pi.
The first option converts your existing drive to a Pi boot drive, but requires copying your data off the drive first (which can be quite slow if you have a lot of recordings). The alternative is to use a smaller secondary drive as the dedicated OS boot image, in which case the DVR drive can be attached directly with no modifications necessary.
Convert drive to Pi OS
- Copy all your data off the existing drive, including the
Database,TV,Movies,Streaming,LogsandImagesfolders - Reformat and prepare the drive using the instructions above
- Boot up the DVR on your Pi
- Enable Samba access, then copy all your data back to the drive
- Visit http://dvr-server:8089/restore and select the most recent backup from the
Databasefolder
Secondary Pi OS drive
- Purchase a small/inexpensive (~60GB) SSD drive and prepare it using the instructions above
- Boot your Pi off the SSD
- Attach your existing DVR drive to the second USB3 port
- Visit http://dvr-server:8089/restore and select the most recent backup from the
Databasefolder on your old drive
