Raspberry Pi
Note: Raspberry Pi is no longer suggested hardware for hosting a Channels DVR Server. Its value
for its performance is limited these days.
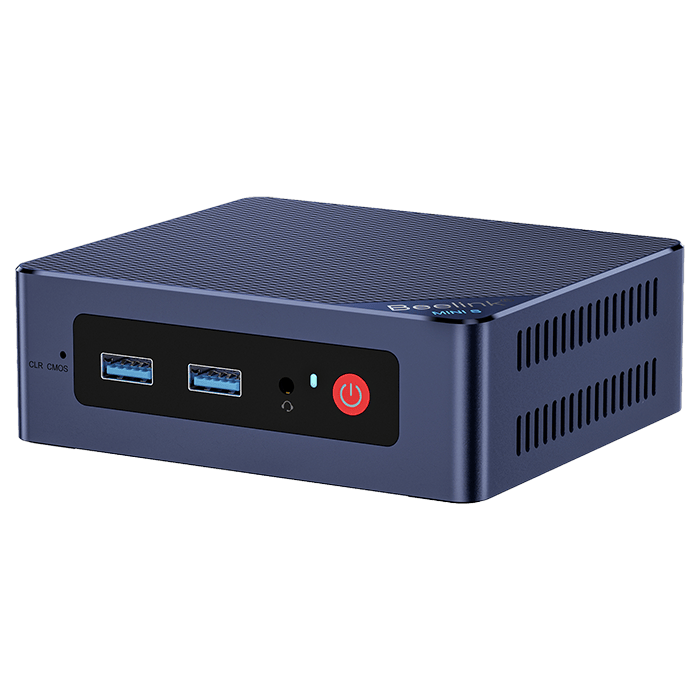
Intel n95 based Mini PCs are a much better option at this point. The performance for their price far outweighs what
you can accomplish with a Raspberry Pi.
- Channels DVR Server can be installed on your Raspberry Pi running Raspbian using our standard Linux instructions.
- Hardware Transcoding support is no longer fully supported on Raspberry Pi 4
- TV Everywhere sources are not supported on Raspberry Pi
macOS
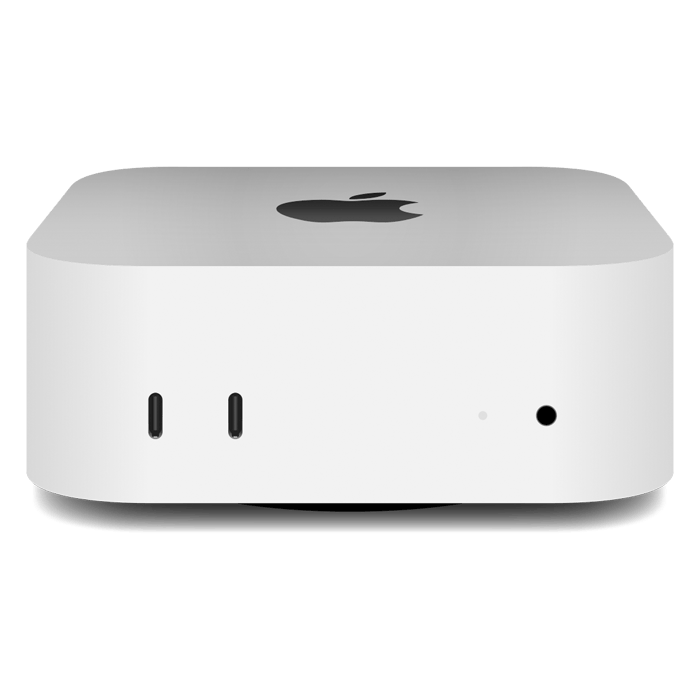
Channels DVR Server is officially supported on macOS 11 Big Sur and up.
Download
-
Supports both Intel and Apple Silicon.
-
The service runs on port 8089, and has a web interface available at http://localhost:8089 for configuration.
-
Change your Energy Saver preference to "Prevent computer from sleeping" to ensure the DVR does not miss any
recordings.
-
Run the installer again if you need to stop or uninstall Channels DVR Server.
-
If you would like to run the DVR as a background service, open Terminal.app and paste:
~/Library/Application\ Support/ChannelsDVR/uninstall.sh && ~/Library/Application\ Support/ChannelsDVR/install.sh --system.
Note that the hardware transcoder is not available when running as a service.
Windows
Channels DVR Server is officially supported on 64-bit Windows 10 and up.
Download AMD/Intel
Download ARM64
-
Channels DVR Server does not require administrator privileges, and installs into
c:\ProgramData\ChannelsDVR.
-
The first time it runs, the Windows Firewall may ask for Administrator privileges to allow private network
access.
-
The service runs on port 8089, and has a web interface available at http://localhost:8089 for configuration.
-
The service starts up automatically on login. Run
netplwiz.exe to enable auto login and ensure the
service is always running after a reboot.
-
Computers with modern NVidia or Intel HD Graphics cards can automatically utilize hardware accelerated
transcoding. Use the Intel Driver Update
Utility to make sure your drivers are up to date.
Linux
Channels DVR Server can be installed on Linux by running a simple script.
SSH into your linux machine and use the following command to install Channels DVR Server:
curl -f -s https://getchannels.com/dvr/setup.sh | sh
-
The setup script will create a
channels-dvr directory in the current directory and download Channels DVR Server there.
It will then detect if your linux distribution uses systemd, upstart or init.d, and will install the appropriate
startup script. The script may ask for sudo access during this process.
-
We recommend that you run the setup script in your home directory as your own user so Channels DVR Server is
installed into
~/channels-dvr.
-
If you prefer instead to install into
/usr/local, run this before the setup script:
cd /usr/local && sudo mkdir -p channels-dvr && \
sudo chown $(id -u -n) channels-dvr
-
If you have an Intel processor, make sure you add your user to the
video and render
groups so the Channels DVR Server transcoder can use /dev/dri for hardware acceleration:
sudo adduser $(id -u -n) video && sudo adduser $(id -u -n) render.
-
If your
/ and /home mounts have limited space or i/o-throughput (for example, when
using an SD card with the Raspberry Pi), install Channels DVR Server on an externally mounted USB HDD instead.
-
If you plan to use TV Everywhere, install your linux distrubution's chrome or chromium package. For example,
apt-get install chromium-browser xvfb.
-
The service runs on port 8089, and has a web interface available at http://localhost:8089 for configuration.
-
Bonjour (aka zeroconf) is used by the Channels apps to automatically discover your DVR on your network. If you
have a firewall, ensure that port 5353 is whitelisted for TCP/UDP access.
Synology
Channels DVR Server can be installed by uploading our software into the Synology DSM Package Center.
DSM 7
Download
Note: TV Everywhere sources are limited when using the native Synology
package. Please consider using
Docker on Synology for more robust TV Everywhere support. .
QNAP
Channels DVR Server can be installed by uploading our software into the QNAP App Center.
Download
For more information, see the QNAP App
Center documentation.
-
QTS 4.3.5 or higher is required.
-
To make sure your DVR recordings start on time, go to
Control Panel > General Settings > Time and
change Time interval to every 6 hours.
-
The service runs on port 8089. QNAP's Virtualization Station also uses port 8089 and will cause the installation
of Channels DVR Server to fail. Please disable Virtualization Station if you have installed it, or change its settings to use a different port than 8089.
Note: TV Everywhere sources are limited when using the native QNAP
package. Please consider using
Docker on Synology for more robust TV Everywhere support. .
Netgear ReadyNAS
Channels DVR Server can be installed by uploading our software into the ReadyNAS Apps interface.
Download
ReadyNAS OS 6.2 is required.
Unraid
Channels DVR Server can be installed on the Docker tab using a template repository.
View Template Repository
unRAID v6 is required. For more information, see the unRAID documentation.

Add the URL of the template repository

Create container
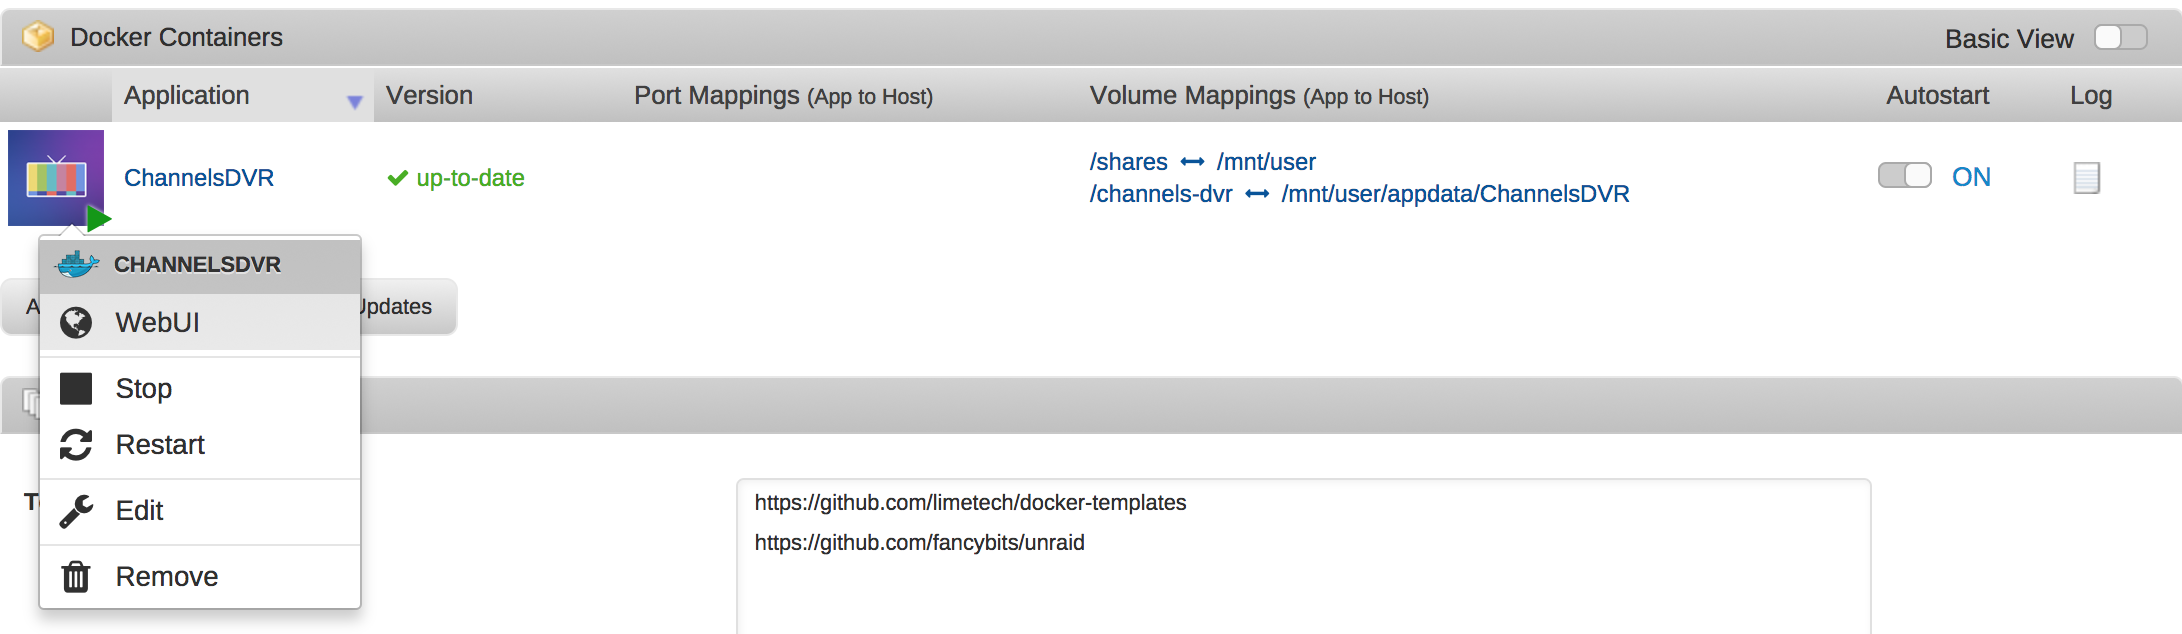
Channels DVR Server running
For hardware transcoding support, edit /boot/config/go to add the line modprobe i915, and configure your container to pass-through the /dev/dri device:

TrueNAS Scale
Channels DVR Server can be installed on TrueNAS Scale via our Linux instructions or via Docker.
Asustor
Channels DVR Server can be installed by uploading our software into Asustor App Central.
Download
Docker
Channels DVR Server can be run as a Docker container.
Start up Channels DVR Server via Docker:
docker run \
  --detach \
  --name=channels-dvr \
  --net=host \
  --restart=on-failure:10 \
  --device /dev/dri:/dev/dri \
  --volume /mnt/disk/dvr/config:/channels-dvr \
  --volume /mnt/disk/dvr/recordings:/shares/DVR \
  fancybits/channels-dvr:latest
Or add this to your docker-compose.yml:
channels-dvr:
  image: fancybits/channels-dvr:latest
  container_name: channels-dvr
  network_mode: host
  ports:
    - "8089:8089"
  restart: on-failure:10
  devices:
    - /dev/dri:/dev/dri
  volumes:
    - /mnt/disk/dvr/config:/channels-dvr
    - /mnt/disk/dvr/recordings:/shares/DVR
-
Use the
fancybits/channels-dvr:tve image if you need TV Everywhere support
-
The
--net=host option is required for the Channels apps to discovery your DVR via Bonjour.
-
Neither Docker for Mac nor Docker for Windows support
--net=host. When running on these platforms, you'll have to connect to Channels DVR Server by IP address from Channels. You can do this in the Settings tab of the Channels Apps.